close
Choose Your Site
Global
Social Media
Views: 0 Author: Site Editor Publish Time: 2026-06-08 Origin: Site
Adventure riding presents harsh realities when the sun goes down. Standard OEM headlights are vastly inadequate for high-speed, off-road night riding. They simply scatter weak beams across the dirt. This leaves you guessing about sudden ditches or wildlife ahead. You face a significant dilemma when upgrading your setup today. Navigating a saturated market filled with exaggerated specification claims is extremely frustrating. Brands often use inflated lumen counts to distract from poor optical engineering. Our purpose here is to provide an objective, evidence-based evaluation framework. You will learn how to select a reliable product based on actual optical performance. We will examine critical electrical realities and physical survivability metrics. This guide ensures your next lighting purchase genuinely improves your nighttime safety.
Output vs. Usability: Raw lumens indicate total brightness, but candela and beam pattern dictate the actual beam distance required for spotting trail hazards at speed.
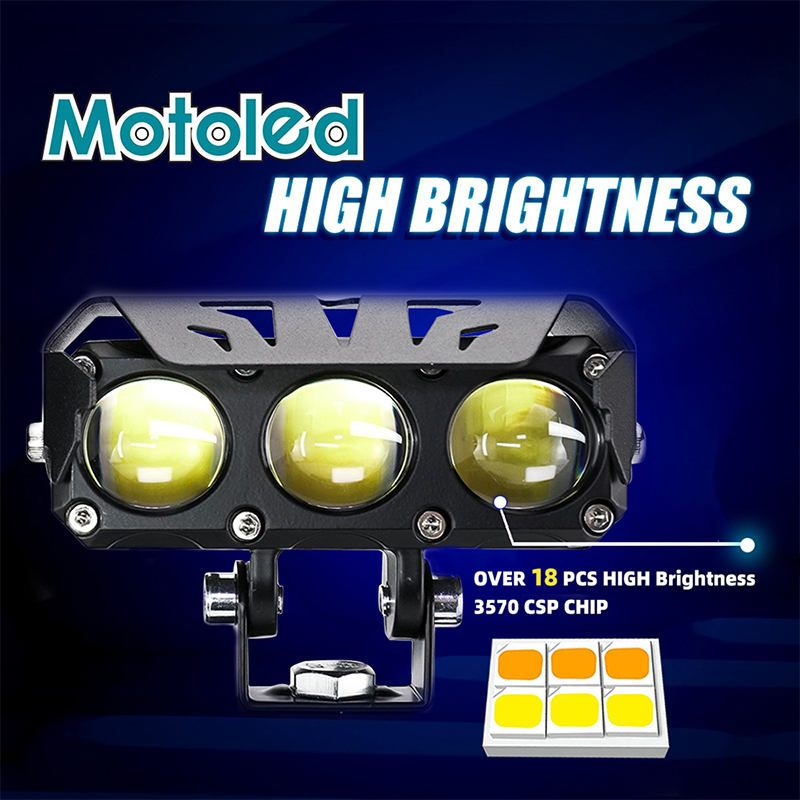
Environmental Survivability: An IP67 LED spotlight (or IP68) with robust vibration resistance and thermal management is a non-negotiable baseline for off-road durability.
Electrical Capacity: High-draw lights require careful evaluation of your motorcycle’s stator output and integration via relays or smart controllers (CAN bus).
Decision Criteria: Shortlisting an adventure riding light requires balancing your typical riding environment (open desert vs. tight woods) against budget and warranty length.
Factory motorcycle high-beams suffer from serious design limitations. Manufacturers design them for paved roads and predictable street signs. They produce scattered light patterns projecting only short distances. You risk "overriding your sightline" when riding dirt roads at speed. This means your motorcycle travels faster than your stopping distance allows based on visibility. Dedicated auxiliary lighting solves this dangerous geometry problem. They punch through the darkness to extend your reaction time.
You must understand optical differences before buying auxiliary lights. Manufacturers categorize beam patterns based on their intended use case. Here is a breakdown of the three main options:
Beam Pattern | Optical Characteristic | Primary Application |
|---|---|---|
Flood | Wide field of view (60°+ angle), short distance | Ditch lighting, slow technical terrain, cornering |
Spot | Narrow beam angle (10°–15°), high intensity | High-speed trails, long-distance hazard detection |
Combo | Blends spot and flood lenses in one housing | General-purpose riding lacking dedicated setups |
Strategic placement dictates how well these lights perform. Many riders bolt lights to the lowest point on their crash bars. This position creates harsh, elongated shadows behind every rock on the trail. You should mount a focused motorcycle spot light higher up on the bike. Ideal locations include the upper crash bars or near the factory headlight. High mounting angles push the light beam down the trail effectively. This reduces terrain shadowing and maximizes your usable throw distance.
The motorcycle lighting market suffers from severe "lumen inflation." We constantly see budget brands advertising 10,000 or 20,000 lumens. You must evaluate these claims skeptically. These numbers usually represent the theoretical maximum output of bare LED chips. They do not reflect the measured output after light passes through lenses. Purchasing based solely on high lumen counts is a dangerous trap.
You need to distinguish between volume and intensity. Lumens measure the total volume of light emitted by the diode. Candela and Lux measure the intensity of light focused in a specific direction. Candela is the true metric for beam distance. A bulb might produce massive lumens but scatter them everywhere. Such a light will blind oncoming traffic while failing to illuminate distant trail hazards.
Evaluating your actual beam distance needs requires practical math. We correlate riding speed directly to stopping distance. You cover about 27 meters per second at 100 km/h. A quality LED spotlight for motorcycle setups should project usable light far beyond this. It must illuminate obstacles at least 300 to 500 meters down a dark trail. This range gives your brain time to process hazards and brake safely.
Color temperature also dramatically impacts nighttime visibility. We measure this in Kelvin (K). The ideal range for off-road riding sits between 5000K and 6000K. This daylight-white spectrum reduces rider eye fatigue during long stints. It also pierces through airborne dust effectively. You should avoid ultra-blue lights rated at 7000K or higher. Blue light creates a severe washout effect on dirt roads. It reflects off dust particles and ruins depth perception.
Off-road riding punishes motorcycle accessories mercilessly. Water and dust ingress easily destroy poorly sealed electronics. You must understand the Ingress Protection (IP) rating system to buy wisely. The first number indicates solid particle protection. The second number dictates water resistance. An IP67 LED spotlight is completely dust-tight. It also withstands temporary submersion in shallow water. This rating serves as the absolute baseline for river crossings and heavy rainstorms. Extreme overland expeditions might justify IP68 or IP69K ratings. These higher tiers survive continuous submersion and high-pressure washing.
Vibration resistance destroys more lights than water ever does. Adventure bikes generate intense high-frequency vibrations. Large single-cylinder and twin-cylinder engines shake auxiliary mounts violently. Plastic housings crack quickly under these conditions. You should look for extruded aluminum housings instead. They provide essential structural rigidity. Robust steel or aluminum mounting brackets are equally important. Lenses must use shatterproof polycarbonate rather than traditional glass. Polycarbonate flexes slightly to resist direct rock strikes from leading motorcycles.
Thermal management dictates continuous lighting performance. LED chips generate immense heat at their rear base. Circuit boards will fry if this heat cannot escape. Manufacturers use thermal throttling to prevent this catastrophic failure. The internal controller automatically dims the light as temperatures rise. This dimming becomes obvious during slow-speed, technical trail riding. Effective external heat sinks maximize surface area. They dissipate heat rapidly to maintain full brightness when airflow drops.
Modern motorcycles rely on complex electrical ecosystems. Your stator generates a finite amount of electrical current. Adding a high-draw motorcycle LED spotlight can overwhelm this delicate balance. Draining your battery miles from civilization is a catastrophic scenario. You must calculate your bike’s spare electrical capacity before wiring anything.
Follow these steps to determine your available wattage:
Locate your motorcycle's total stator output in the factory service manual.
Subtract the baseline draw required to run the bike (fuel pump, ECU, dashboard).
Subtract the wattage of your heated gear (grips, jacket liners).
The remaining figure represents your maximum available wattage for auxiliary lights.
Electrical efficiency matters just as much as raw output. You should evaluate the wattage-to-output ratio carefully. Premium brands utilize high-quality Cree or Osram LED chips. These top-tier components draw significantly less power for the same usable light. Cheaper unbranded chips turn excess wattage into wasted heat. They drain your electrical system unnecessarily.
Safe wiring practices prevent electrical fires and stranded motorcycles. You must never wire auxiliary pods directly to the battery without protection. A fused wiring harness is mandatory. You must also use properly gauged wire to handle the specific current draw. Thin wires melt under heavy loads. Traditional relay harnesses work well for older motorcycles. However, modern bikes benefit from solid-state power distribution modules. Systems like the Hex ezCAN or Denali CANsmart read the bike’s factory computer data. They allow seamless integration without splicing factory wires. They also provide vital dimming capabilities. Dimming is crucial for transitioning legally from off-road trails to public streets.
Your primary use case should dictate your final purchase. Different riding styles demand entirely different lighting strategies. Weekend dual-sport riders tackle tight, technical woods. They need compact, low-draw pods. Small lights survive brush impacts and preserve limited stator outputs. Long-haul overlanders face a different reality. They cross vast open deserts at higher speeds. They require larger, high-output, heavily armored units. Redundant wiring setups ensure they never lose illumination completely.
You must evaluate brand marketing claims highly skeptically. Ignore flashy packaging promoting astronomical lumen numbers. Look instead for manufacturers publishing actual photometric charts. Reputable brands provide isolux diagrams for their optics. These charts map exactly how light falls on the road at specific distances. They prove the manufacturer actually engineered a functional beam pattern. A brand refusing to share isolux data is hiding poor optical engineering.
Off-road equipment takes incredible abuse over time. Lenses pit from sand, and brackets snap during tip-overs. Warranty and support networks become vital factors. You should shortlist a premium adventure riding light backed by a robust guarantee. Highlight companies offering lifetime or multi-year warranties. Accessible customer service is equally important. You will eventually need replacement lenses or spare mounting brackets. A cheap imported light becomes worthless if you cannot buy a simple replacement part.
Take actionable steps before clicking the checkout button. Measure your available mounting points on the crash bars first. Ensure the physical dimensions of the light housing fit without hitting the fairings at full steering lock. Consult your motorcycle's service manual regarding specific electrical limits. Preparation prevents costly installation surprises.
Equipping your motorcycle for night riding requires analytical thinking. The best auxiliary lighting setup always balances focused beam distance with rigorous environmental sealing. You must also verify strict electrical compatibility before installation. Avoid the temptation to buy based solely on massive lumen claims. Invest instead in quality optics, proven thermal management, and robust mounting hardware. Upgrading your nighttime visibility expands your riding window dramatically. Making an informed choice ensures safety and reliability when navigating the most remote locations on earth.
A: Shift your focus from raw lumens to usable lux and candela. Raw lumens only indicate volume, not distance. A combined output of 3,000 to 5,000 true lumens is generally sufficient for most trail speeds. This assumes the light utilizes a highly focused spot optic to push the beam far down the road.
A: Dedicated spotlights rarely meet DOT or ECE compliance for on-road use. They lack the required cutoff lines to prevent blinding oncoming traffic. You must treat them strictly as off-road equipment. Riders must dim them significantly or cover them completely on public roads depending on local jurisdictions.
A: Mechanically, you can mount them to almost any frame. Electrically, it depends entirely on your bike's stator capacity. Large adventure bikes handle high-draw lights easily. Smaller displacement dual-sports possess weak stators. These smaller bikes require highly efficient 10W to 20W pods to prevent catastrophic battery drain.
A: You should mount them higher up on the motorcycle. Placing them near the factory headlight or on upper fairing crash bars is ideal. This elevated angle maximizes throw distance. It also minimizes harsh, elongated shadows forming behind trail obstacles, which commonly occurs with low-mounted lights.