close
Choose Your Site
Global
Social Media
Views: 0 Author: Site Editor Publish Time: 2026-06-05 Origin: Site
Upgrading off-road lighting is critical for safety and operational efficiency. However, selecting the right ATV LED headlight requires moving past generic lumen counts. Off-road environments subject lighting systems to severe vibration, unpredictable stator voltage spikes, and heavy moisture. A mismatch in specifications leads to flickering, premature burnout, or inadequate trail visibility. Standard bulbs often fail exactly when you need them most on dark trails.
You must understand how your vehicle generates power and distributes it. This guide provides a technical evaluation framework for shortlisting high-performance LED upgrades. We base this evaluation on electrical compatibility, environmental ingress protection, and optical output. You will learn how to bypass marketing hype and focus on mechanical realities. This approach ensures you select a lighting system capable of surviving harsh riding conditions.
Voltage matters: Broad voltage ranges (typically 9-32V DC) are required to handle the unstable power output of ATV stators.
IP Ratings define survival: IP67 is the baseline for mud and rain; IP68 is strictly required for deep water crossings.
Beam patterns dictate speed: Spot beams support high-speed straightaways, while flood beams are necessary for technical, low-speed trail navigation.
Thermal management is the true lifespan indicator: Ignore exaggerated hour ratings; evaluate the heat sink design and housing clearance instead.
Modern riders demand more from their electrical systems. Factory halogen bulbs remain common due to low manufacturing expenses. Yet, they present significant performance drawbacks on the trail. Upgrading changes how you manage vehicle power and nighttime visibility.
Halogen bulbs rely on superheating a filament to produce light. This process creates massive electrical resistance. Consequently, factory halogens pull heavy amp loads. This heavy draw drains your battery rapidly. You often ride at low speeds over rough terrain. During these periods, your stator barely produces enough power to charge the battery. A solid-state 4-wheeler LED light solves this problem. LEDs draw a fraction of the current required by halogens. They convert electricity directly into light efficiently. This efficiency preserves battery voltage during prolonged low-speed technical riding.
Off-road riding generates intense physical shock. You hit rocks, ruts, and washboards constantly. Halogen bulbs contain fragile tungsten filaments. These delicate wires break easily under heavy vibration. Once the filament snaps, the bulb dies instantly. LEDs are solid-state devices. They have no moving parts, glass tubes, or delicate filaments. Manufacturers solder the diodes directly to circuit boards. This construction method eliminates vibration-induced failures. They withstand massive physical shocks without dropping output.
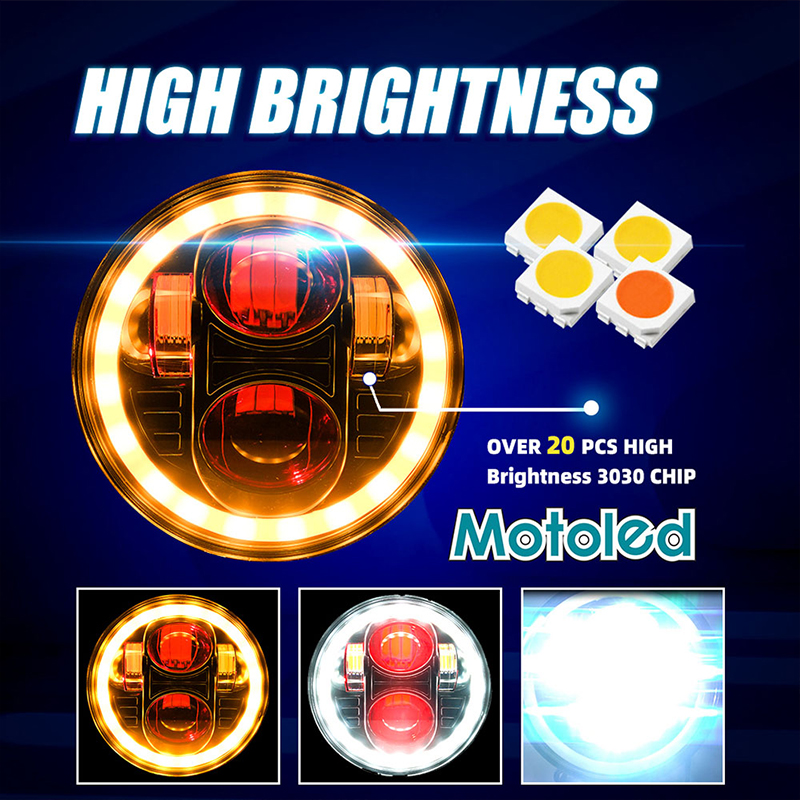
Marketing departments often inflate lumen metrics. You must exercise heavy skepticism toward "raw lumen" claims. Raw lumens represent a theoretical maximum output. They calculate this by multiplying diode capacity by total diodes. It ignores thermal loss and optical inefficiencies. Focus instead on "effective lumens" and lux measurements. Effective lumens measure the actual light exiting the lens. Lux measures the light intensity hitting a specific area on the trail. We strongly advise checking lux charts over raw lumen numbers for true performance.
Standard Electrical Load Comparison | |||
Bulb Type | Average Amp Draw (per pair) | Vibration Tolerance | Energy Efficiency |
|---|---|---|---|
Halogen (55W) | 8.0 to 9.5 Amps | Low (Filament break risk) | Poor (High heat waste) |
LED Upgrade (36W) | 2.5 to 3.0 Amps | Very High (Solid-state) | Excellent |
You cannot simply plug a new bulb into an old harness and expect perfection. Vehicle electrical systems vary wildly across brands. Understanding your specific power delivery system prevents frustrating electrical gremlins.
An automotive battery provides a steady 12 volts. However, off-road stators behave differently. They output inconsistent power depending on engine RPMs. When you idle, stator voltage drops significantly. When you pin the throttle, voltage spikes. An ATV headlight must support a wide voltage range to absorb these fluctuations. Quality units feature internal drivers capable of handling 9V to 32V DC. This broad range guarantees steady light output. It prevents the light from dimming at idle or burning out during high-RPM voltage spikes.
Modern utility machines, especially brands like Polaris or Can-Am, utilize CAN bus networks. These computer systems monitor electrical loads actively. They expect to see the heavy amp draw of factory halogens. When you install efficient LEDs, the CAN bus system detects a severe voltage drop. The computer assumes the bulb is dead or the circuit is shorted. It responds by pulsing the power rapidly, which causes severe flickering. You need built-in anti-flicker decoders or inline resistors. These modules mimic halogen loads, tricking the computer into delivering steady power.
Always verify your existing wiring harness gauge before installation. You also need to check the factory fuse limits. Replacing stock bulbs usually requires no wiring changes. However, adding high-output auxiliary pods increases the total circuit load. If you exceed the wire gauge capacity, the wires will overheat. This causes melted insulation and potential electrical fires. Follow these steps before adding extra lights:
Check your owner's manual for maximum accessory circuit amperage.
Add up the total amp draw of your intended LED upgrades.
Install a dedicated relay harness directly to the battery if the new draw exceeds factory limits.
Water intrusion destroys electronics instantly. You must match the physical protection of the off-road LED headlight to your actual riding environment. The International Electrotechnical Commission (IEC) defines these protection levels through IP (Ingress Protection) ratings.
The IP67 standard indicates complete protection against dust ingress. It also certifies temporary submersion up to 1 meter in depth for 30 minutes. We consider IP67 the absolute minimum standard for reliable trail use. It handles rainstorms, shallow puddles, and direct mud splashes effectively. If you stick to dry trails and light utility work, IP67 provides adequate defense. You can wash your machine with a standard hose safely.
IP68 denotes extreme duty protection. It survives sustained submersion under pressure beyond 1 meter. We strictly require IP68 for specific riding styles. If you frequently tackle deep mud bogs, swamp trails, or river crossings, IP67 will fail eventually. Water pressure increases rapidly with depth. IP68 units feature thicker silicone seals, potted circuit boards, and tighter hardware tolerances. They survive prolonged exposure to pressurized water and acidic mud compounds.
Heat dynamics cause unique water intrusion problems. When you run a light, the internal air heats up and expands. If you plunge that hot light into cold creek water, the housing cools instantly. This rapid cooling creates a severe internal vacuum. The vacuum pulls outside air and moisture past the rubber seals. This process causes frustrating internal lens fogging. Premium manufacturers solve this using military-style breather valves. These tiny membrane patches equalize internal pressure rapidly. They allow air to flow out while blocking liquid water from entering. This prevents condensation buildup permanently.
Brute brightness means nothing if the light hits the wrong areas. Optical engineering dictates how the diodes project their output. You must match the beam pattern to your specific riding speeds and environments. Poorly aimed ATV lighting creates dangerous blind spots.
Spot beams utilize deep, smooth reflectors or projector lenses. They focus the light into a tight, narrow cone. This design punches light far down the trail. Spot beams support high-speed straightaways. When you ride fast, you overdrive standard headlights quickly. You need distant forward visibility to spot rocks, drops, or wildlife in time to brake. Frame spot beams as mandatory tools for desert racing or open field riding.
Flood beams use textured reflectors to scatter light widely. They sacrifice forward distance for broad peripheral coverage. This pattern proves essential for utility tasks around the farm. It is also necessary for technical rock crawling or navigating tight, wooded trails. When you ride slowly through dense forests, seeing the immediate ditch lines and tree trunks matters more than seeing a mile ahead.
Combo beams integrate both optical styles into a single housing. They feature spot reflectors in the center and flood reflectors on the outer edges. This design provides a highly versatile compromise. You gain moderate distance and decent peripheral spread. We highly recommend combo beams for mixed riding conditions.
Color temperature alters how your eyes perceive terrain details. It also dictates how light interacts with airborne particles.
6000K (Crisp White): This represents the industry standard. It mimics daylight and feels extremely bright. It provides excellent contrast on dry trails.
3000K (Amber/Yellow): White light reflects heavily off dust, snow, and fog. This creates a blinding white wall in front of the rider. Amber light penetrates these particles effectively. It cuts through poor weather without causing severe glare.
Beam Pattern Application Chart | |||
Beam Type | Primary Benefit | Ideal Speed | Best Environment |
|---|---|---|---|
Spot | Long-distance projection | High Speed | Open deserts, dunes, long straightaways |
Flood | Wide peripheral vision | Low Speed | Tight woods, farming, rock crawling |
Combo | Balanced versatility | Variable | Mixed trail riding, general utility |
Purchasing the correct specification represents only half the battle. Physical installation introduces significant implementation risks. You must evaluate dimensions and wiring realities before buying.
High-power diodes generate substantial heat at their base. They require large active cooling fans or bulky passive aluminum heat sinks. These cooling mechanisms extend far behind the bulb base. Factory halogen bulbs remain extremely compact. Before purchasing, instruct buyers to measure the rear clearance of their factory headlight housing. Turn the handlebars lock-to-lock during measurement. Large LED bases often hit suspension components or fail to fit inside compact ATV cowlings entirely.
You should debunk the standard "50,000-hour lifespan" marketing claim immediately. Diodes rarely burn out naturally. Excessive heat kills them prematurely. Longevity depends entirely on the quality of the thermal dissipation design. Active fans cool well but introduce a moving part prone to mud jamming. Passive aluminum ribbons or heavy aviation-grade aluminum fins provide better reliability in heavy mud. Always evaluate the heat sink material and surface area. Poor thermal management causes the driver to reduce power safely, resulting in severe light dimming during rides.
Evaluate the installation reality critically. Splicing wires creates new failure points for moisture ingress. Unsealed crimps invite galvanic corrosion, which destroys wiring harnesses quickly. Prioritize products featuring direct-fit OEM connectors (such as H4, H13, or proprietary factory plugs). True plug-and-play systems maintain factory weather seals. They preserve your vehicle warranty and prevent future electrical diagnosing nightmares.
The best upgrade is not always the brightest option on the market. Superior performance comes from careful compatibility matching. You must align the electrical output, physical housing constraints, and your specific riding environment perfectly. Overloading a tiny stator with massive auxiliary pods causes system failure. Ignoring IP ratings leads to ruined circuits after one deep puddle.
Take specific next steps today. Check your owner’s manual for exact bulb sizes and stator output limits. Measure your current housing depth behind the bulb socket. Finally, filter your shortlist strictly by IP rating requirements and your preferred beam pattern. This diligent approach guarantees reliable, high-performance nighttime visibility for years.
A: You only need a relay harness if your new lights draw more total amperage than the factory wiring supports. LEDs typically draw far fewer amps than factory halogens. Replacement bulbs easily plug into factory wiring. However, adding multiple high-output auxiliary pods might overload standard circuits. Always calculate total amp draw first.
A: Flickering happens because stators output lower voltage at idle RPMs. Additionally, CAN bus systems detect the low amp draw of efficient LEDs and pulse the power erratically, assuming a bulb failure. Installing built-in anti-flicker decoders or inline resistors stabilizes the power delivery and stops the flashing.
A: IP67 handles general trail riding perfectly. It withstands heavy rain, dust, and direct mud splashes. It even survives temporary, shallow submersion. However, if you regularly bury your machine in deep mud bogs or attempt sustained river crossings, you must upgrade to an IP68 rating.
A: You should not put spot beams in primary housings. Spot patterns lack the sharp vertical cut-off line required for safe operation. They cause severe blinding glare for oncoming riders. Keep spot patterns strictly on auxiliary pods. Use wide flood or DOT-compliant driving patterns for primary housings.